

For my Intermediate Photography class our most recent project was Night Photography. I've never done much Night Photography. I've done some - like when I took pictures of fireworks on the fourth of July. But overall it isn't something I've played around with much. I had a lot of fun with it. It does take some time and patience. For most of these pictures I had the shutter opened for 30 seconds. Which doesn't sound like a lot but when you're taking a picture it seems like FOREVER. Plus you have to wait for at least 30 seconds after the picture is taken for the camera to process the image. For someone (we aren't going to name names me) who doesn't have a lot of patience this is almost an enternity. That being said, I think these pictures were worth it.
Key Tips when taking night photography:
1. USE A TRIPOD!! This is a must. Because the shutter is open so long any (and I do mean ANY) movement causes blur and camera shake.

(This airplane is heading to the Air Force Base. I love how it turns in the picture)


(These two pictures are airplanes headed to the airport. Their flight paths are more straight.)
2. TAKE YOUR TIME. Set up the camera and the tripod and get your shot ready before you press the shutter. If you are taking pictures of airplane trails (above) make sure you are in a flight path. We live near an Air Force Base and a major airport so we saw quite a few airplanes. The ones going to the airport were more frequent than the ones going to the Air Force Base. The problem was the ones going to the Air Force Base were a lot closer plus they turned which was awesome. But I missed most of them because I wasn't ready for the shot. I got quite a few of the ones going to the airport but they weren't as exciting. 

(This picture was done with a flashlight. Hubby is standing in the street - very empty street - SAFETY FIRST! - he is aiming the flashlight at the camera)

(This is in the car on the freeway. Shutter open for 30 seconds.)
3. USE A LOW ISO. I used 100 or 200 most of the time. You're probably saying "WHAT?! ISO 100 at night? That's crazy" The key here is the shutter is opened so long it lets in a lot of light. Start with 100 and if your picture is too dark move up to 200. I did some at 800 and they work fine but you are already going to get a lot of noise in the picture because the shutter is open so long that you don't want to add to it with a high ISO.


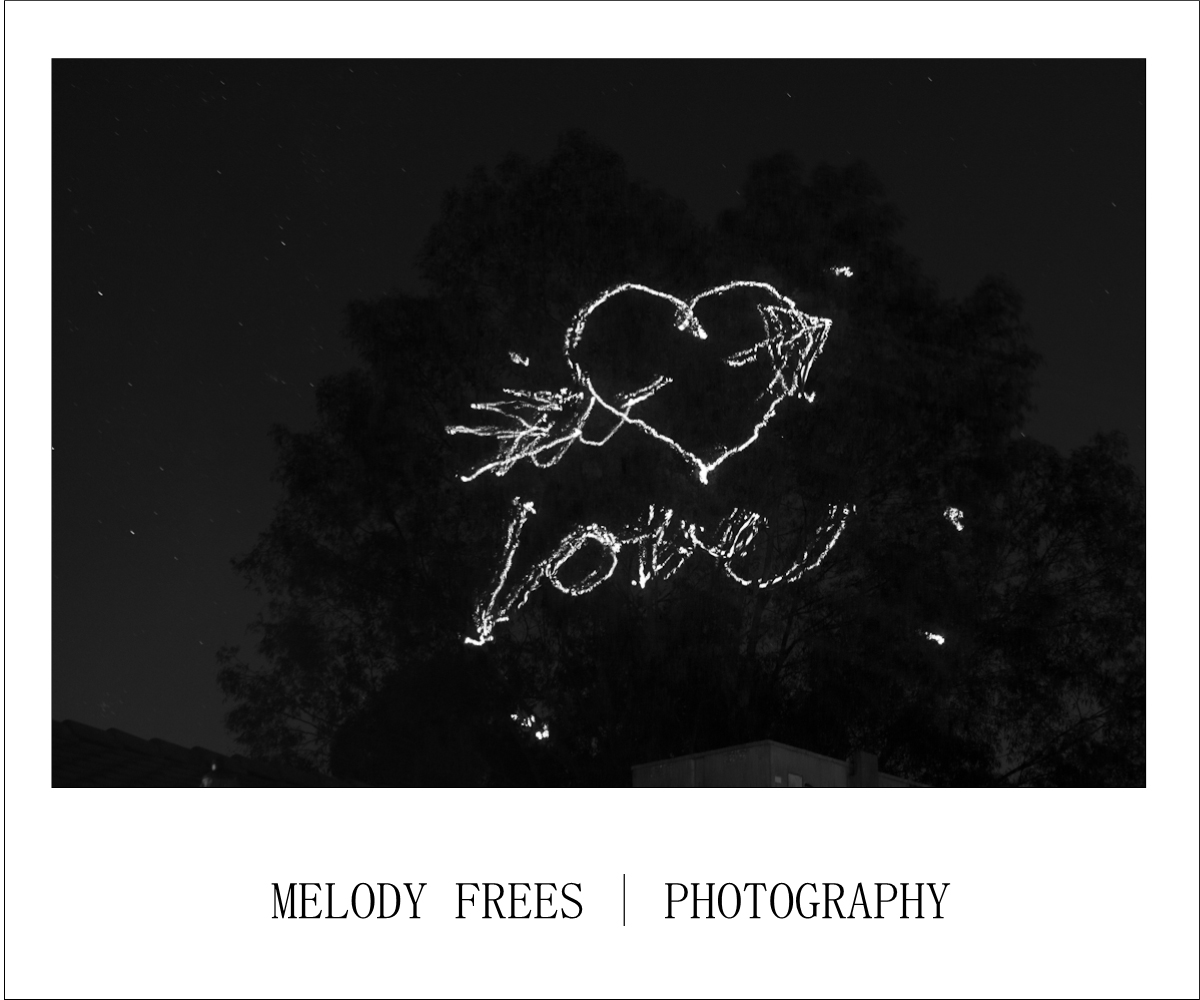
(These are done with a laser pointer. Hubby was sitting next to me with the laser pointer aimed at the tree. He had to "paint" on the tree or else you wouldn't be able to see the light since it wouldn't have anything to reflect off of)
4. USE AN ASSISTANT. This isn't a requirement but it does make it more fun. Plus you get the added benefit of their ideas. My hubby is always willing to be my assistant which is awesome for me. (partially because then I get to spend more time with him. But also because he has a great eye for art so his input is always helpful.) He is my model for a lot of the pictures. He's also the one who is using the laser to "draw" in the pictures. We used a really powerful laser pointer for these pictures but you can also use a flash light.


Additional Tips When using a laser pointer be careful to never shine in peoples eyes, windows, etc. Also make sure you don't shine it at airplanes (HUGE NO!NO!) Most laser pointers aren't powerful enough to reach airplanes but some are and it is a Federal Law that you can't shine them at airplanes. (You wouldn't want to be the one to cause a plane crash or permanent eye damage.)
When using a laser pointer - stand on same side as the camera and "paint" away from the camera. If you spell words spell them frontwards.
When using a flash light - stand opposite the camera and "paint" towards the camera. If you are spelling words, spell them backwords.
Have fun with it!! I'd love to see what pictures you create!

No comments:
Post a Comment